Introduction to Git; how to install Git, configure and use it on Windows.
This article will guide you through from downloading Git to installing and finally configuring Git on your system.

Prince Adimado is a Software Developer who loves community. As a Gold MLSA Alumni, he loves to share his knowledge and experience with the community empowering his peers and others to strive for excellence.
Introduction
A program or collection of applications known as a version control system (VCS) keeps a record of changes made to a group of files. A VCS makes it simple to access previous versions of specific files or the entire project. Another objective is to make it possible for multiple team members to work simultaneously on a project, even on duplicate files, without interfering with one another's efforts.
Earlier versions of VCSs, such as CVS, Subversion (SVN), and Perforce, kept a project's history on a centralized server. Because of this centralization, the single server presented a risk of being a single point of failure.
This is where Git comes in. Git is a Distributed Version Control System. Because Git is distributed, the entire history of a project is kept on both the client and the server. Without a network connection, you can edit files, check them locally, and sync them with the server whenever a connection is established. You still have a local copy of the project in case a server goes down.
Since we now know, what Git is about let’s jump straight into how we can install Git on Windows.
Steps in Installing Git on Windows.
Download Git for Windows
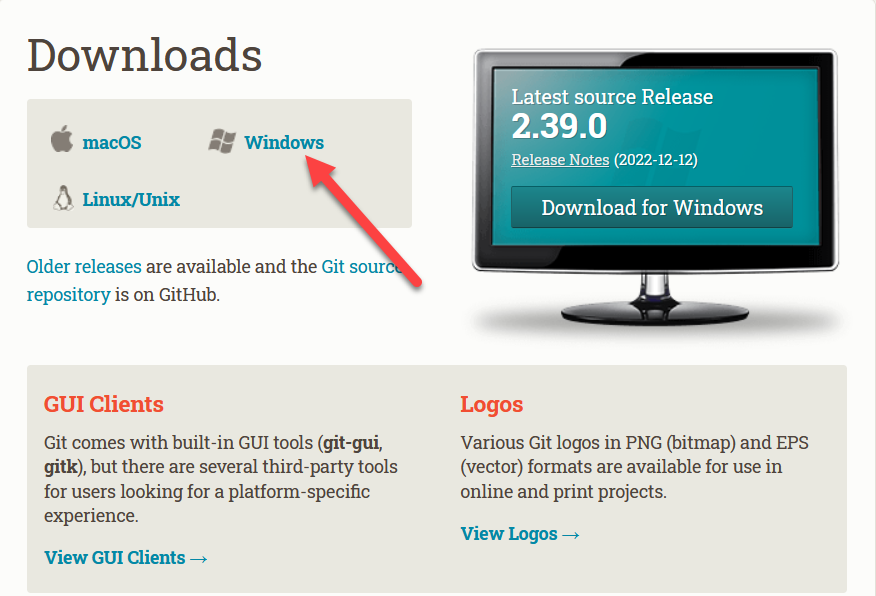
Browse to the official Git Website: https://git-scm.com/downloads
Click on the download link for Windows and get to download the setup. Choose between the 32-bit and 64-bit standalone installer if your system has a 64-bit processor. Select the 64-bit Git for Windows setup. Click read more on 32-bit and 64-bit Windows here.
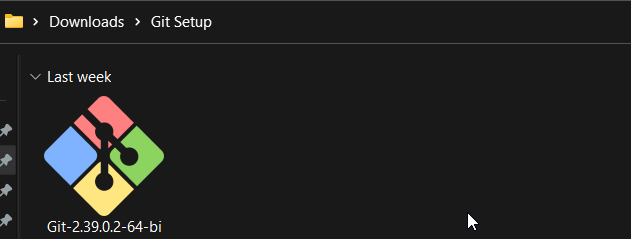
Lunch the Installer
Right-click on the setup to run as an administrator. A dialog will pop up, click Yes to allow the app to make changes to your device, and click Next.
- You may review GNU General Public License. When you’re done click on Next.

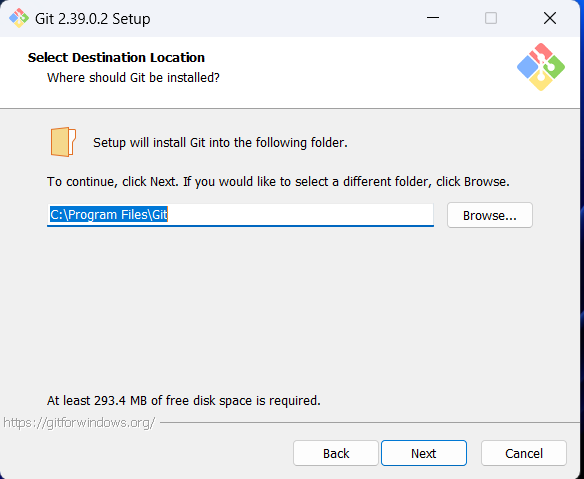
- Select the destination of the installation. Generally, the defaults are recommended unless you have a reason to change it and click Next.
- A component selection window will appear. Unless you have some boxes to uncheck if you don’t need them. Otherwise, leave the defaults and click Next.

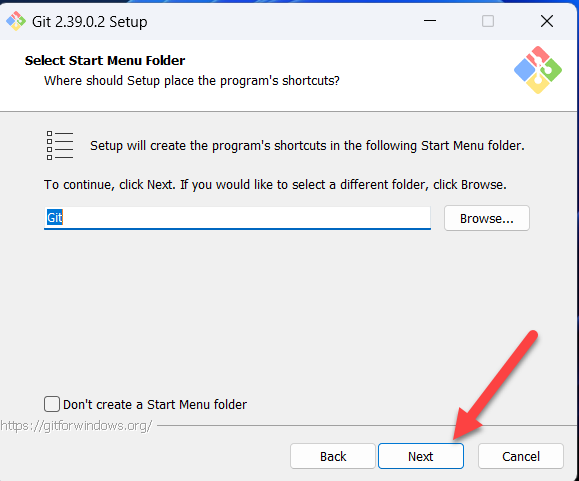
- The Git Installer will prompt you to select a start menu folder, leave the defaults and simply click Next.
- Choose a default text editor for Git. Click on the dropdown button to select. Click Next.

- When you start working with Git and GitHub. You will need to create branches when collaborating on projects. Normally the default branch, when you create a remote repository on GitHub, is called "main". But in this window, you are to choose between the default branch name “master” in Git or override the default branch name to main or any other name you want. To prevent errors when pushing your projects on GitHub because of different branch name issues. Select the second option to override the default name "master” and click Next.

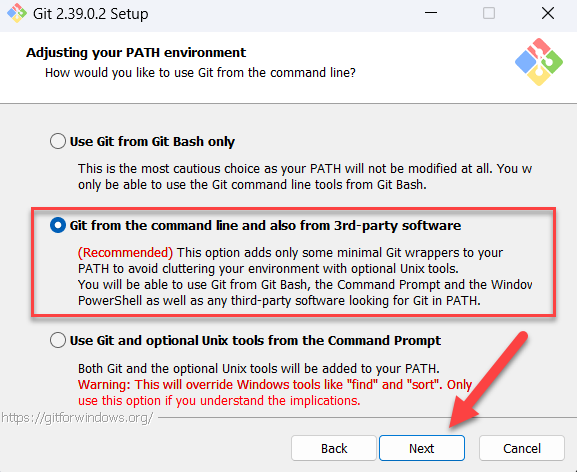
- The installation wizard will prompt you to change your Path Environment. It is recommended to leave it at default and click Next.
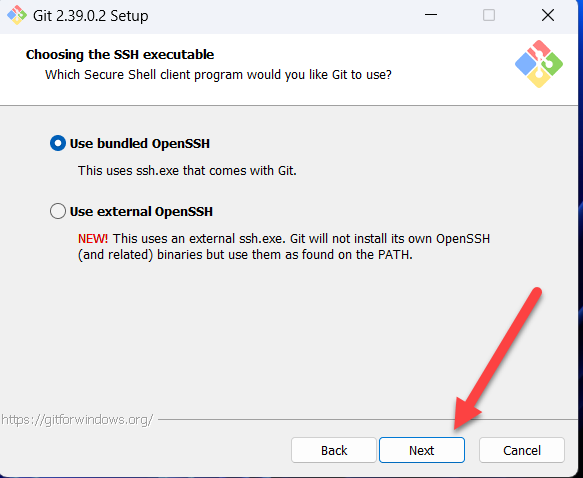
- The SSH client you want Git to use will now be requested by the installer. If you don't require a specific SSH client, leave the default selection and press Next. Git already includes its SSH client.
- The next option is to choose which server certificate you want Git to use. It is recommended you go with the default which is OpenSSL Library.

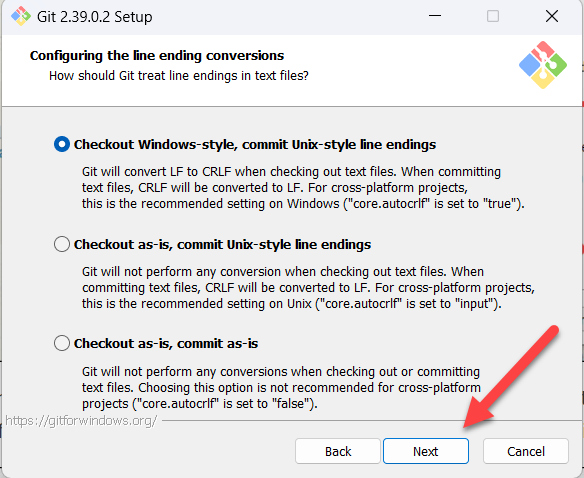
- Changing line endings is the next option. It is advised that you leave the default option chosen. This has to do with how the data is formatted, and changing this setting could lead to issues. Choose Next.
- Choose the terminal emulator you want to use. The default MinTTY is recommended for its features.

- Next, the installer will ask you to choose what the default
git pullcommand should do. The default is recommended unless you want to alter the default behavior of the command.

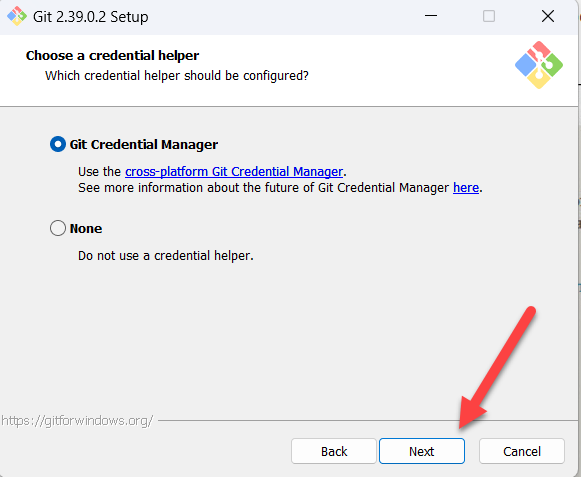
- The installer will prompt you to select which Credential Manager to use. Kindly leave it at the new default and a cross-platform Credential Manager for Git.
- Although the default choices are advised, you can choose which additional option to enable in this phase. Check the box if you use symbolic links, which are basically command-line shortcuts. Select Next.

- Next, the installer will ask to select to configure experimental options. The default is okay but if want to try them out it’s your decision. Otherwise, select next.

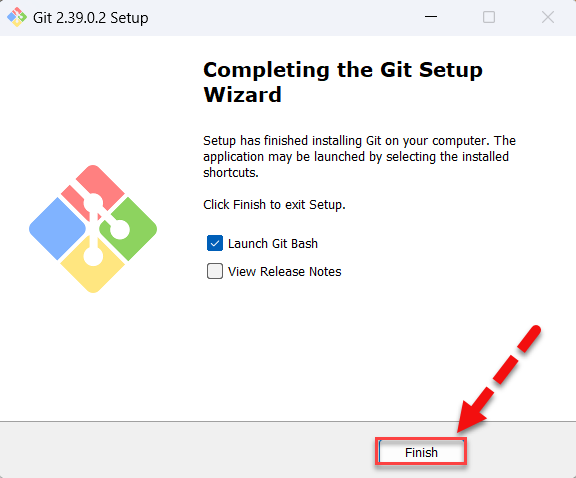
Complete Git Installation Process.
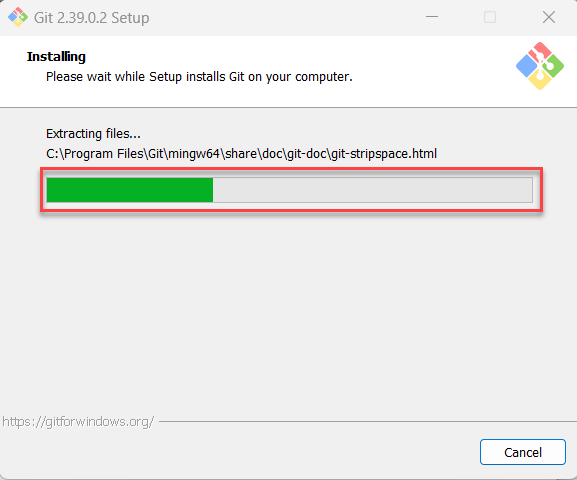
- Complete the installation either by ticking the launch Git bash or ticking to view Git Release Notes. Click on finish.
Learn to Configure Git
Follow these steps to configure Git.
- To check if Git has been installed successfully, open a terminal it could be with CMD, PowerShell, or Git Bash, and run this command.
git --version
- You will see an output like this Output: git version 2.39.0
git version 2.39.0
To configure Git, you must define two variables:
user.nameanduser.email. Both are required to make commits.Now configure your username with this command. Replace
<USER_Name>with your GitHub username.
git config --global user.name "<USER_NAME>"
- Next your email with this command. Replace
<user.email>with your GitHub email.
git config --global user.email "<USER_EMAIL>"
- Run this command to view the changes.
git config –-list
- You will see a long list in the output but will contain something like this.
user.name=User Name
user.email=user-name@email.com
Let’s conclude
Thank you for following this guide to know how to install and configure Git. And for making this far in the article. I have included links to resources to help you learn more about Git and GitHub.


